Create 3D Assembly Structure in «Assembly Structure» Window |
  
|
You can create an assembly structure both during operation and in advance. The recommended way to operate using "Top-down" design is to create a structure of hierarchically related fragments, and then edit them, starting with fragments that are independent of others, moving on to the fragments that will be built on the basis of those that have already been created. It is difficult to fully guess the final structure, so you can create only part of it, and to supplement the structure in the process.
To create a hierarchical assembly structure, you should create an assembly file.
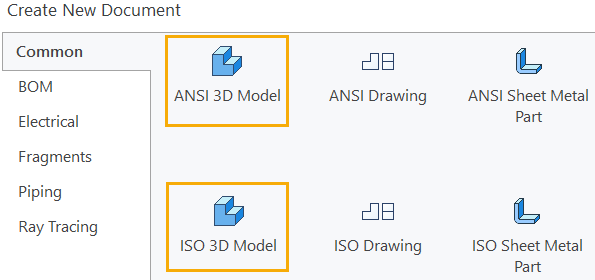
Then you should save the assembly file. Open the Assembly Structure window.
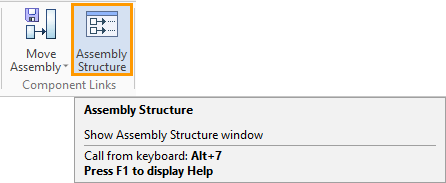
Next, in the Assembly Structure window, you should call the context menu for the created file.
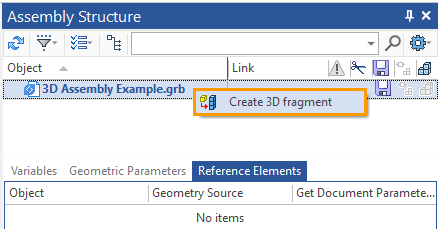
Select the Create 3D Fragment command. In the appeared dialog, specify the name, and do not enable Edit in Context option, because first you need to create the assembly structure. You can edit the fragments both in context and not in the context of the Assembly later, when the user begins designing. After you finish working with the fragment creation dialog, the fragment file will be saved in the specified folder. By default, the new fragment file will be saved to the folder where the Assembly file is located.
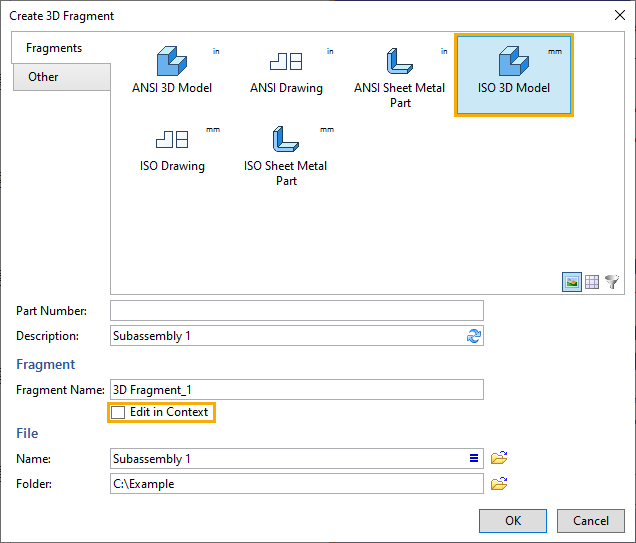
Working with the fragment creation dialog is described in the corresponding section below.
Similarly, by calling Create 3D Fragment command from the context menu, you can create a structure of any complexity for the fragment for which you want to create a embedded fragment.
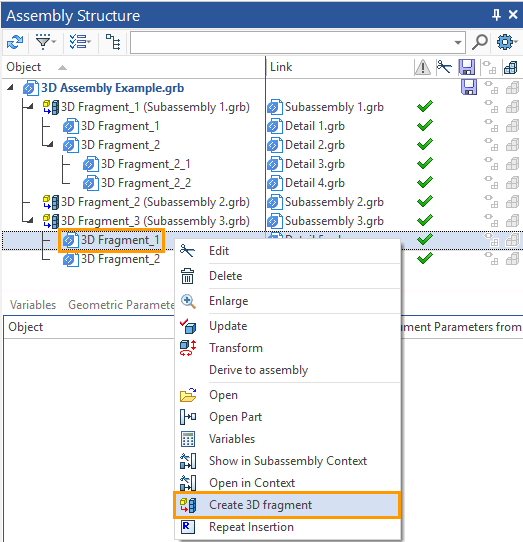
After you have finished creating the structure, you need to save the main Assembly file in which you worked to create the structure. Next, you need to fill the fragments with geometry. This should be done in the context of the Assembly if you want to create Reference Elements.