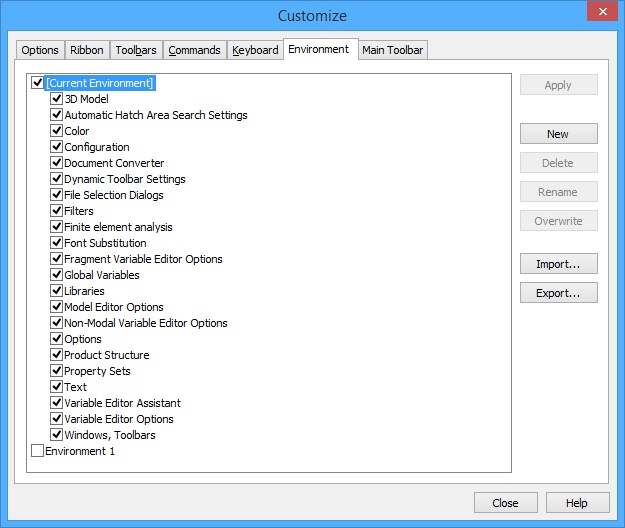
“Environment” Tab |
  
|
“Environment” Tab |
|
This tab serves to work with Environments.
Environment is a set of system settings that can be saved in the Windows Registry or in an external file with the purpose of a future quick system setup. An environment may include the following settings: the visibility and composition of toolbars, special system windows, library and folder windows; the system settings, default customizations of various commands, etc.
The list of existing Environments is displayed in the left part of the dialog. Initially, the only item in the list is “Current Environment”. It denotes the current system settings. In the future, all user-created Environments are added here.
Already existing Environments can be renamed or deleted. To do that, select them in the list (using ![]() ) and click the respective button ([Rename] or [Delete]).
) and click the respective button ([Rename] or [Delete]).
To apply an existing environment, select it in the list and click [Apply].
You can create a new Environment either based on the current system settings (“Current Environment”), or based on another existing Environment.
To create a new Environment, you need to:
●Select and Environment in the list, whose settings need to be copied to the new Environment. You can also select the “Current Environment” for this purpose – in this case, the current system settings will be saved in the newly created Environment;
●Once an Environment is selected, you will see the list of setting groups stored in it. By default, all parameter groups are marked with checks in the list. That means, all of that will be copied to the new Environment. To avoid copying some settings, clear the checks before the respective group names;
The list of setting groups is closed upon another click ![]() on the selected Environment. The changes made in it (changes in the setting groups selection) will be remembered until selecting another Environment in the list. To close the list, you can also use <Left>, <Right>.
on the selected Environment. The changes made in it (changes in the setting groups selection) will be remembered until selecting another Environment in the list. To close the list, you can also use <Left>, <Right>.
●Click the button [New]. A new Environment with the standard name "Environment 1 (2, 3, …)" will be created. Right after the Environment creation, the system goes into its name editing mode. You can cancel that by clicking ![]() outside the Environment name input field. You will be able to edit an Environment name in the future using the button [Rename]..
outside the Environment name input field. You will be able to edit an Environment name in the future using the button [Rename]..
An existing Environment can be altered by overwriting the settings stored in it by the current ones. To do that, select it in the Environments list, mark the groups of settings in its settings list, which you need to replace, and click [Overwrite]. Please note that this button is unavailable for the “Current Environment” item.
To save an existing Environment in an external file, use the button [Export…]. Upon clicking the button, a standard file-saving window appears. The file name default is the same as the Environment name. The file extension is – "*.2Denv" for the 2D system version, "*.3Denv" for the 3D system version.
To import an Environment from an external file, use the button [Import…]. Upon clicking it, the standard file-opening dialog appears, in which you need to select an Environment file. The Environment imported from the file appears in the Environments list. Besides that, upon importing an Environment the system will offer to apply it.
The Environment files created in the 2D system version will not be recognized in the 3D version, and vice versa.
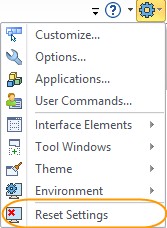
The buttons [Apply], [Delete], [Rename], [Overwrite] are inaccessible for the “Current Environment” item. But the latter is provided the Reset Settings command, using which replaces the current settings by the default ones.