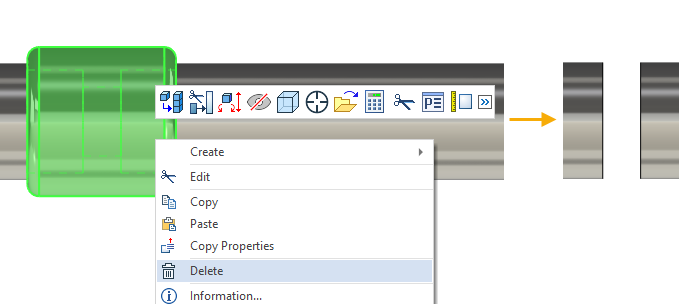
Insertion of Fitting |
  
|
In order to insert a fitting, either drag it with pressed ![]() from the
from the ![]() Library Explorer to the window of the target assembly, or use the
Library Explorer to the window of the target assembly, or use the ![]() Insert as Fragment command of fitting's contextual menu in the
Insert as Fragment command of fitting's contextual menu in the ![]() Library Explorer.
Library Explorer.
In result, the dialog of fitting's external variables appears in the ![]() Parameters window and options for defining position of the fitting on a pipeline appear in the automenu:
Parameters window and options for defining position of the fitting on a pipeline appear in the automenu:
|
<P> |
Select curve |
|
<T> |
Select pipe |
When option ![]() is selected, the fragment is placed on the selected curve point. When you select
is selected, the fragment is placed on the selected curve point. When you select ![]() , system defines appropriate point for fixing on the selected pipe (for example, crossing), if necessary.
, system defines appropriate point for fixing on the selected pipe (for example, crossing), if necessary.
There is a different set of options for each fitting type. It appears after curve or pipe selection.
•For Tee, Crossing:
|
<R> |
Rotate fragment along main axis |
|
<T> |
Rotate fragment along alternative axis |
|
<V> |
Select next fixing point |
Options ![]() and
and ![]() allow to rotate the fragment around main and alternative directions, changing location of trunks and branches.
allow to rotate the fragment around main and alternative directions, changing location of trunks and branches.
Option ![]() is available if the fragment is located on the crossing of two pipes/curves.
is available if the fragment is located on the crossing of two pipes/curves.
If the fragment (tee or crossing) is located at the crossing point of curves, you can’t rotate or translate it using manipulator.
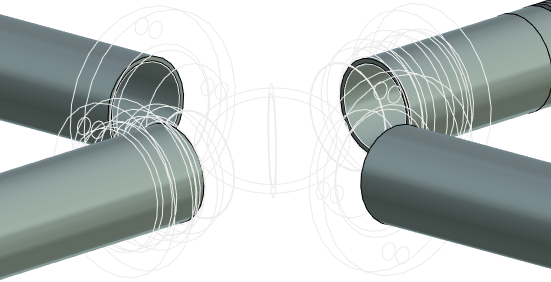
•For CornerFracture, CornerRadius, CornerEnd:
|
<R> |
Rotate fragment |
|
<F> |
Select next fixing point |
The next suitable fixing point for fitting will be automatically found after pressing of ![]() or
or ![]() options. The points will be cyclically searched upon further continuous option usage.
options. The points will be cyclically searched upon further continuous option usage.
The corner can be located on trunks and endings of the pipe.
•For Inset, Clamp:
|
<D> |
Select pipe for Y direction |
|
<R> |
Rotate fragment |
When the option ![]() is active you need to select pipe, related to which the Y direction will be defined.
is active you need to select pipe, related to which the Y direction will be defined.
•For Cap, Adapter:
|
<R> |
Rotate fragment |
This type of fittings limits pipe on endings.
For all inserted smart-fragments the following options are available:
|
<E> |
Wireframe |
Allows to switch between wireframe mode and rendering mode of the model.
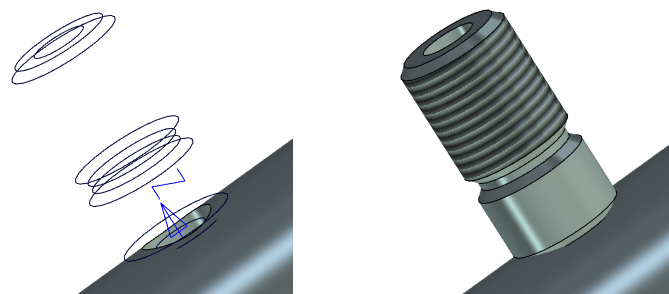
Wireframe mode Rendering mode
|
<N> |
Insert new fragment after confirmation |
A fragment similar to the inserted one will be added after confirmation button pressing.
When you insert a fitting at the beginning or end of the pipe, the pipe is not divided. When you change fixing type the pipe will be divided into two parts if possible. The original parameters of pipe endings will be restored.
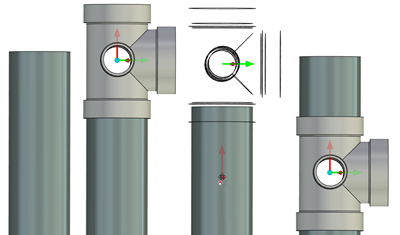
After the fitting insertion or replacement system determines necessity of the pipe dividing. Unused pipe part will be suppressed and removed after exiting the command.
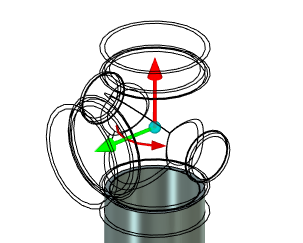
Special manipulator is used to define fitting position. It allows to move fitting and rotate it around the axis.
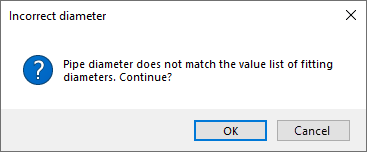
If fitting does not match the pipe, the corresponding message will appear.
Special window Action appears when you edit a fitting. Here you can select option for editing the current fitting, selecting a new fitting to replace the current or cancel editing.
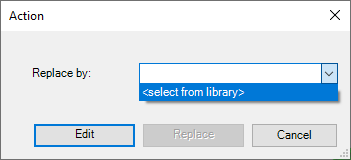
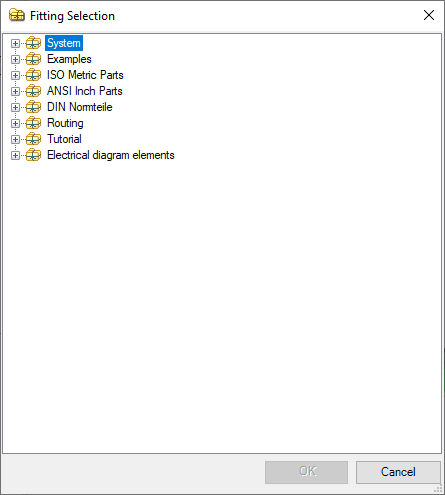
To replace a fitting choose option <Select from library> and select necessary library fragment in Fitting Selection window. After selection, you need to press Replace button.
After fitting selection the system exit from edition command automatically.
When you delete a fitting, linked pipes won’t be deleted.
