Create Camera |
  
|
Calling the command:
Icon |
Ribbon |
|---|---|
|
View > 3D Model > Select Camera > New Camera |
Keyboard |
Textual Menu |
<3CA> |
Construct > Camera View > Camera > Camera |
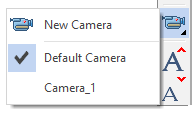
Or you can create camera using View toolbar:

The camera is an element for visualizing three-dimensional objects that determines the point and direction of looking at a 3D scene. Each window has a default system camera. The user can create his own cameras and make one of them active.
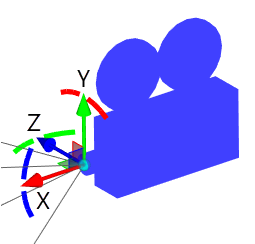
The camera has its own coordinate system and a set of manipulators. Manipulators allow you to move the created cameras around the 3D scene and change the direction of their gaze. This can be used when inspecting the interior of a scene and creating animations.
When a new 3D window is opened, the system camera becomes active. At the initial moment, it is located at a distance that provides an overview of all elements of the 3D scene.
When calling the command, the following options become available to you:
|
<Y> |
Finish input |
|
<P> |
Set entity Parameters |
|
<I> |
Select Other Element |
|
<Esc> |
Exit command |
|
<F5> |
Preview Operation Result |
|
<L> |
Select target LCS |
The camera creation steps include:
•1. Set location and direction of viewing of the camera (you can use manipulators or select one of the existing local coordinate systems);
•2. Setting parameters (optional);
•3. Confirming camera creation.
Defining camera
Upon calling the command, the option automatically sets in the automenu:
|
<L> |
Select target LCS |
Use this option to select a local coordinate system in the 3D view window.
Once a coordinate system is selected in the 3D view window, a schematic image of the camera will be displayed. The initial camera direction is always along the X-axis, with the Y-axis always directed up, and the Z-axis to the right.

After that, you can set up parameters (if necessary), and then confirm the camera creation by pressing ![]() .
.
If there is no LCS existing in the scene you can specify the camera position using manipulators.
|
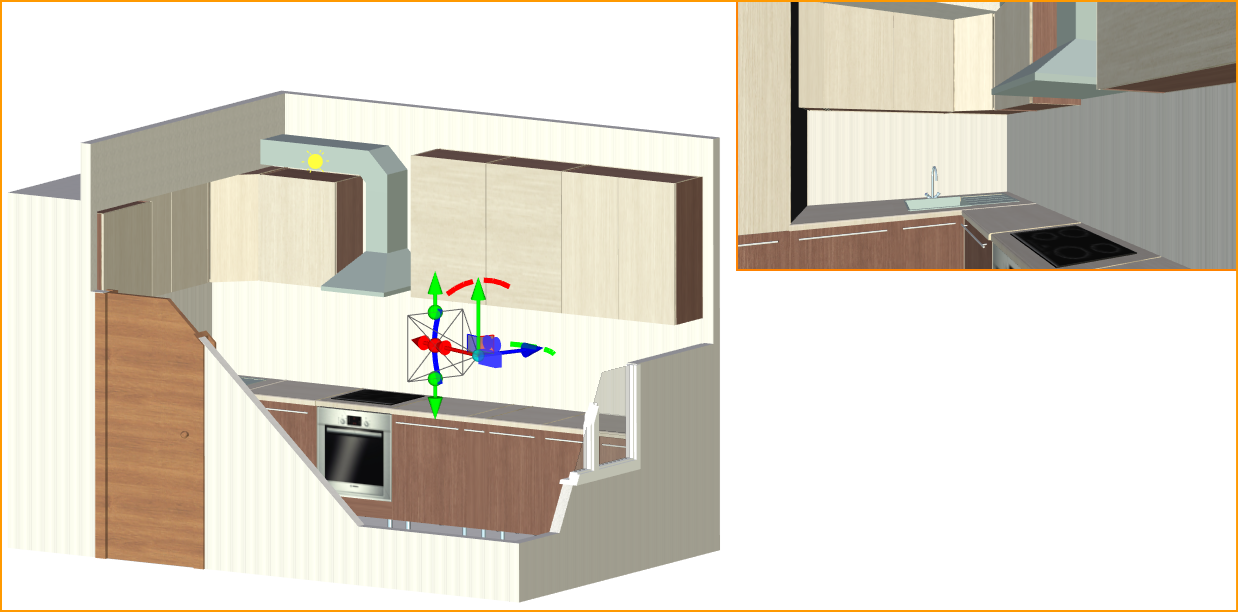
1. Manipulator for adjusting the perspective projection angle 2. Manipulator for adjusting the length of a perspective projection 3. Manipulator for map movement 4. Manipulator for rotation |
Preview window is displayed in the upper right angle of working window in camera creation mode. It shows the view from the camera in real time.

Moving camera
To watch the 3D scene via a moving camera, you need to make that camera active.
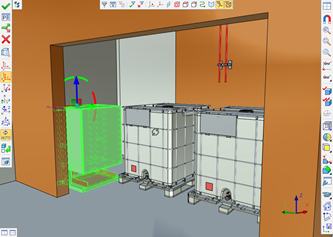
Selected camera mode enables “walking” around the current 3D scene. It is especially convenient when creating floor plans of buildings.
A separate mechanism for cameras movement is used. When camera is active you can move inside designed areas, rotate camera and perform operations as usually in T-FLEX CAD. The detailed information on working with active camera is available in the Select Camera as Active One section.

If camera is moved inside the solid body in the scene, a wireframe mode is activated for the body.