Sweep |
  
|
Calling the command:
Icon |
Ribbon |
|---|---|
|
3D Model > Operations > Sweep Surfaces > Advanced > Sweep |
Keyboard |
Textual Menu |
<3SW> |
Operation > Sweep |
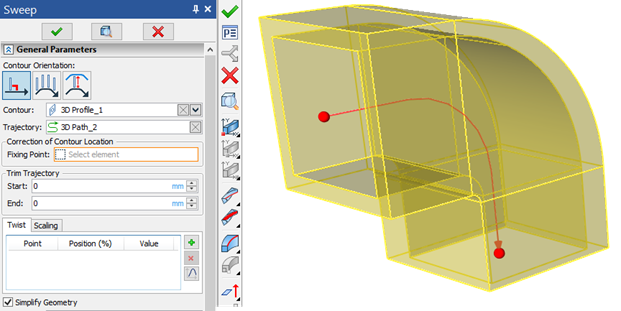
Sweep operation allows creating a solid body by sweeping a contour along a spatial path. This operation belongs to the family of so-called "kinematic" operations, as it results in creating a body swept by the original contour as the latter is moved along a guiding path. Depending on the type of original contour geometry (the contour can have wire or surface body geometry), the operation will yield a surface or solid body. As the contour is being swept along the path, its orientation, twisting and scaling can be controlled.

It is possible to select correction points with a filter that filters out points that do not belong to the selected profile. The size of the body along the trajectory can now be adjusted by manipulators.
Steps of operation creation
The general algorithm of the operation creation is as follows:
1. Select the type of the setting object
1. Select an option of contour orientation.
2. Select a contour.
3. Select elements defining the trajectory.
4. Define correction of the contour original position (optional).
5. Define additional guiding paths or a surface (optional).
6. Define general operation parameters (optional).
7. Confirm operation creation.
Topics in this section:
•Correction of Contour Location in Sweep
•Methods for Calculating Auxiliary Vectors by Guides in Sweep